

 MATT LOVELL goes through how to use this new addition to our Digital range with Android devices.
One of the latest products to hit the market from us here at Gaugemaster is the DCC05 Prodigy WiFi module. In this article I am going to look at how you can use it on Android devices. There is a previous article on the Prodigy WiFi (iOS / Apple) system.
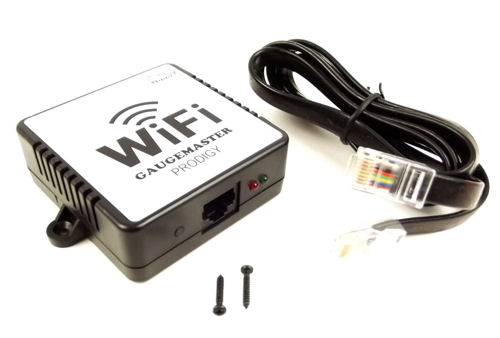
This small black box simply allows the driver to control the layout using a mobile device such as a smartphone or tablet. This also allows for multiple users (on either operating system) to control the layout without being tethered to one location.
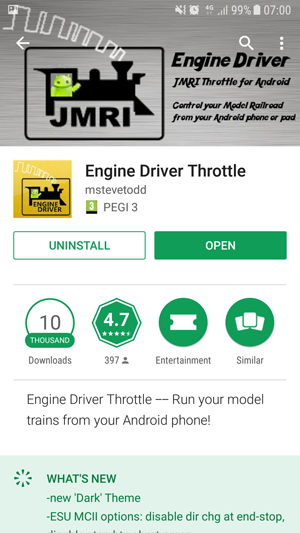
The software is called Engine Driver and can be downloaded for Free from the Google's Play Store.
Once the software has been downloaded to your device, plug the WiFi module into one of the controller ports on the front of the Prodigy Base Unit, using the cable provided. This module can be used with both the DCC01 Prodigy Express and DCC02 Prodigy Advance, and provides an easy way to add a second controller to your system. I personally used a Prodigy system that is about six years old for this article and it worked as expected.
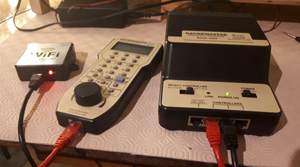
Setting up the App could not be easier, all you need to do is open your Wifi settings on your device and select the MRC Wifi from your list.
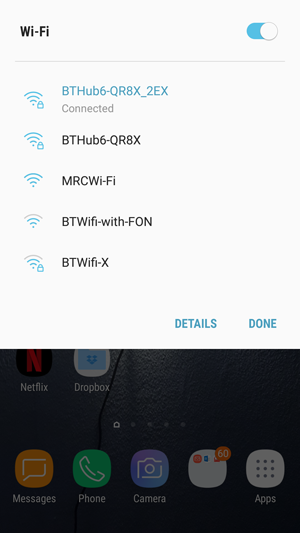
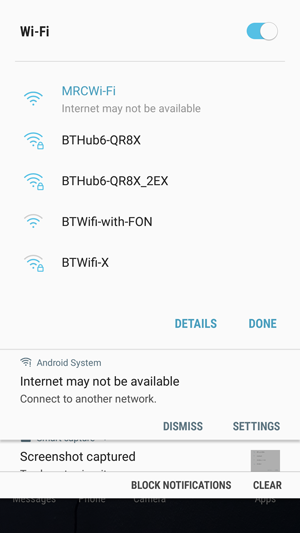
Once you have selected "MRCWi-Fi" from the list and connected, open the App and select the MRCWi-Fi on the Discovered servers list. You are now ready to start operating the layout.
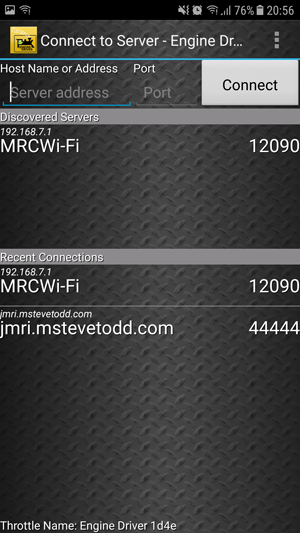
Now, let’s look at what this module can do.
The first screen that opens is the Locomotive screen. Here you can press the "Press to Select" button and call up the roster of locomotives.
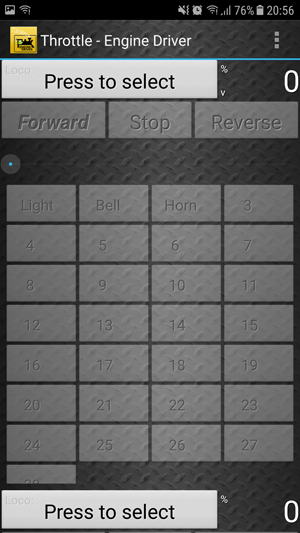
There are two ways you can select a locomotive, either select a locomotive from the screen or key in a locomotive number and press the "Acquire" button.
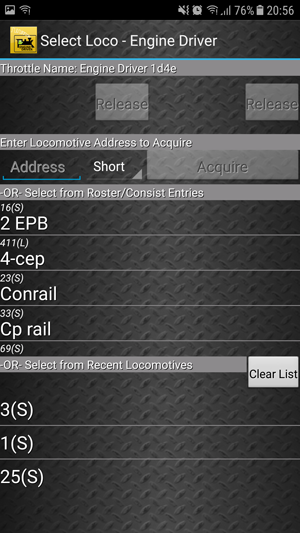
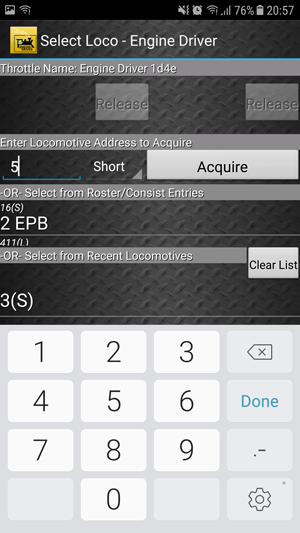
Once you have selected the locomotive and pressed the "Acquire" button the locomotive screen will open again, you will now be able to operate the locomotive.
On the screen you will see lots of different functions buttons, a forward, stop and reverse switch and a slider bar which controls the speed of the locomotive in the selected direction.
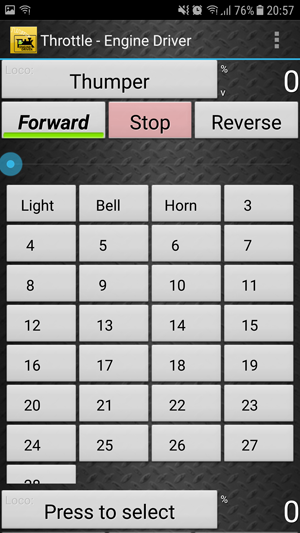
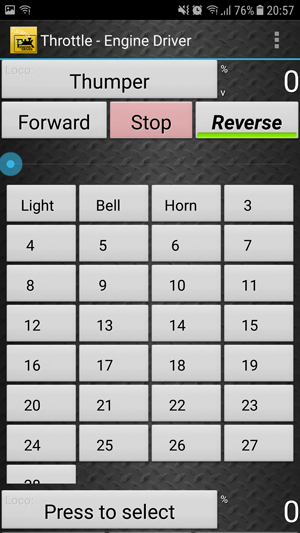
Pressing the buttons changes the direction of the locomotive and a green light on the button shows which one is active.
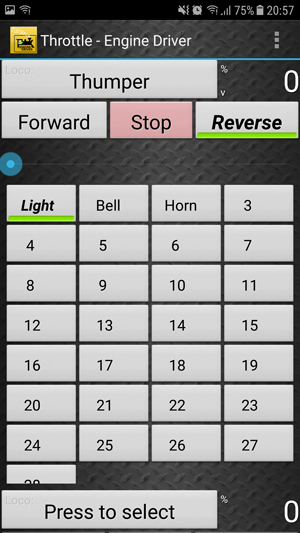
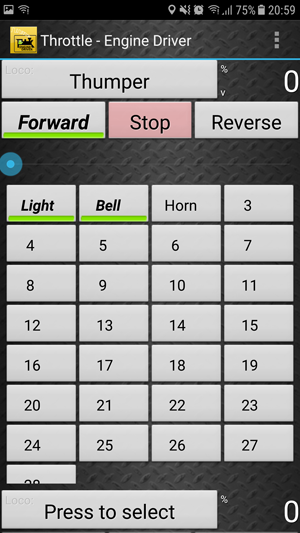
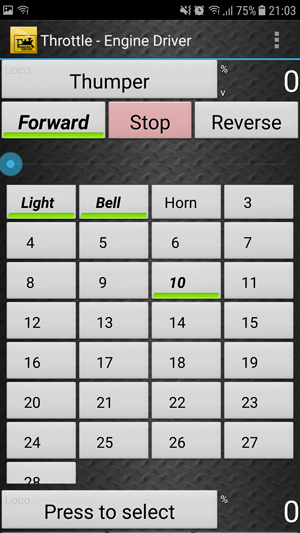
As you can see on the screen there a 29 pre-set function buttons which control the different features of the locomotive. By pressing the function buttons, you will see a green indicator on it which shows which ones have been activated.
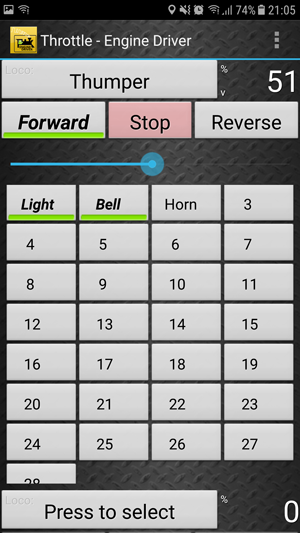
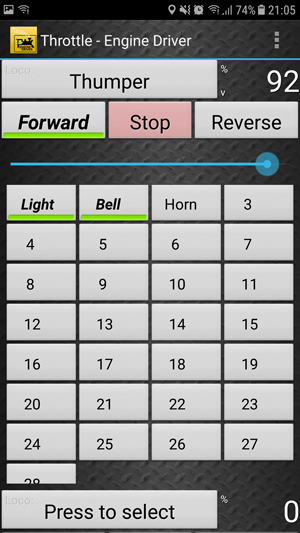
There are two ways you can operate the speed of the locomotive, either using the slide bar on the screen or by using the volume control buttons on your device.
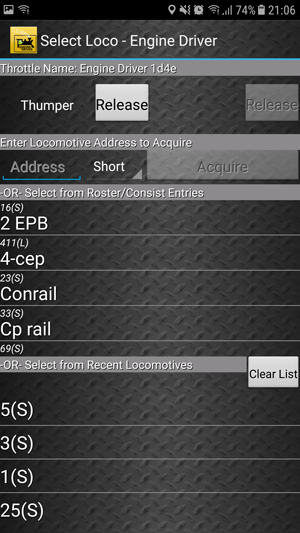
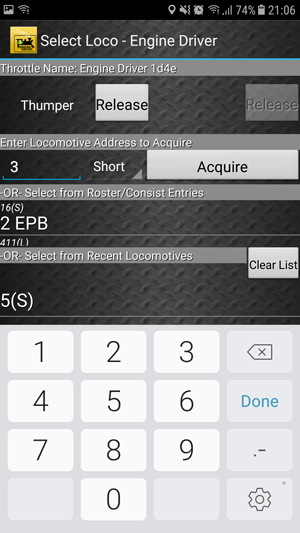
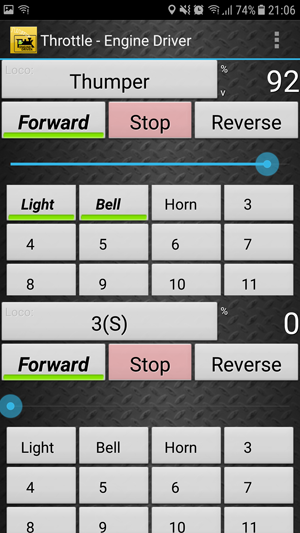
To operate a second locomotive, you just need to press the "Press to Select" button at the bottom of the screen and repeat the earlier process.
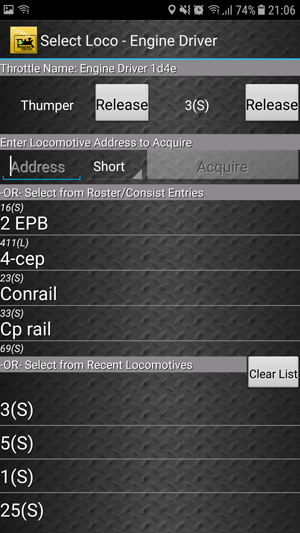
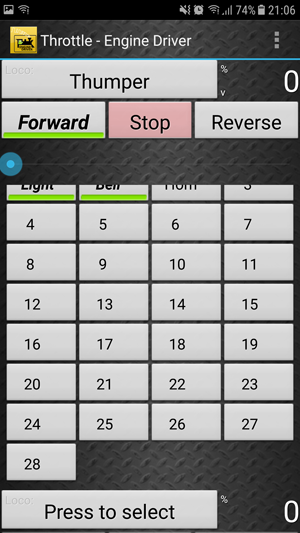
If at any time you need to release a locomotive back to the roster just press the locomotive number, and then press the "Release" button next to the required locomotive. You will now only have the one locomotive on the screen again.
Now you've got locomotives running, let's look at how to control points.
There are two ways to get to the Points menu screen, the easiest way is to swipe left on the locomotive screen. The other way is to press the button in the top right-hand corner of screen (On my device it is three small squares) and select points from the menu.
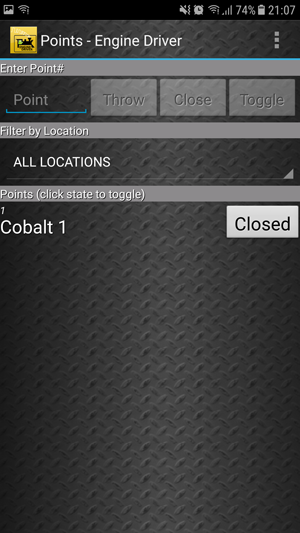
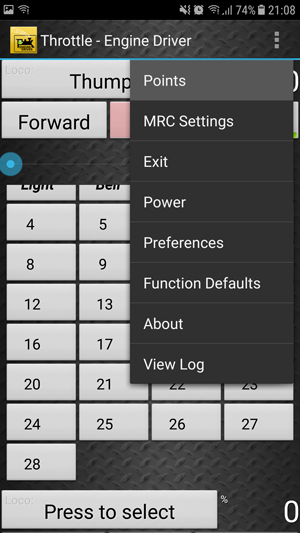
Key in the address of the point you wish to operate, it will then show in the screen below.
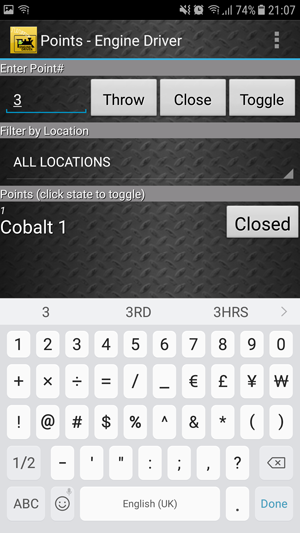
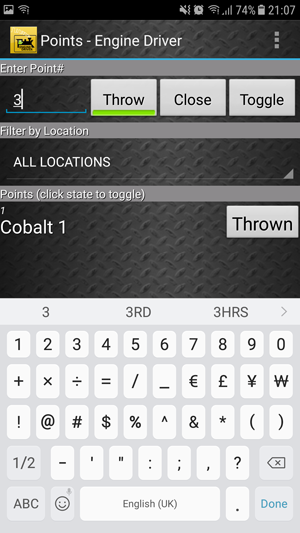
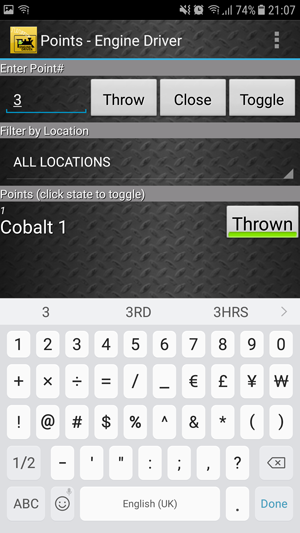
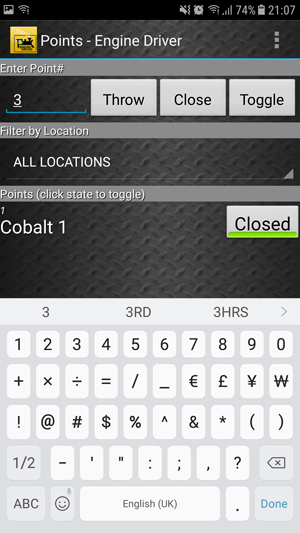
Press the "Thrown/Closed" button on the screen to change the state of the point. To operate additional points just key in the numbers and repeat this process.
We can now look at the settings menu to personalise the app to your own settings.
To get to the "MRC Settings" screen press the settings menu button (Three small squares) to open the main menu and select "MRC Settings". This is where you can change the operation of buttons and what you can see on the locomotive screen. This includes adding buttons to the screen to control the locomotive.
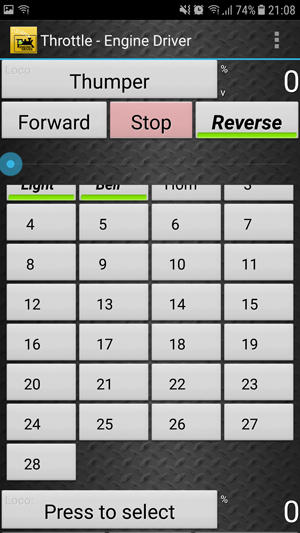
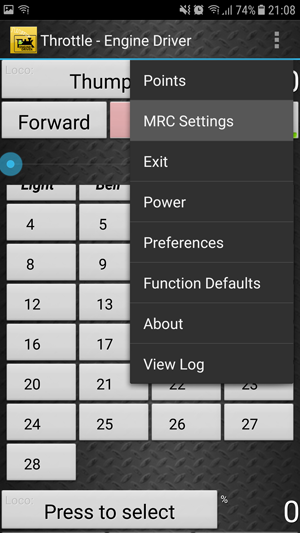
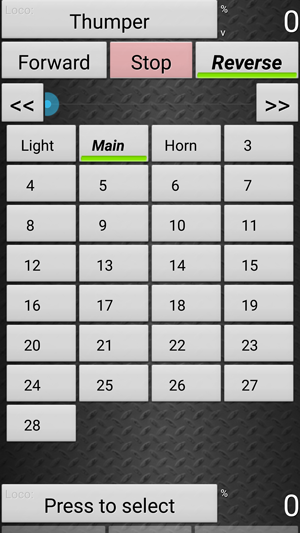
There is another very interesting feature with this module, you can change the names of the function keys so that if you cannot remember what number 10 does, you can give it a short name instead of a number.
This can be accessed through the "Function Defaults" screen.
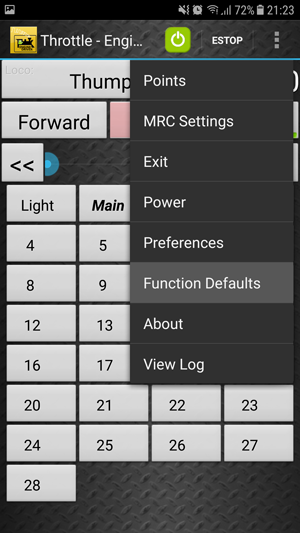
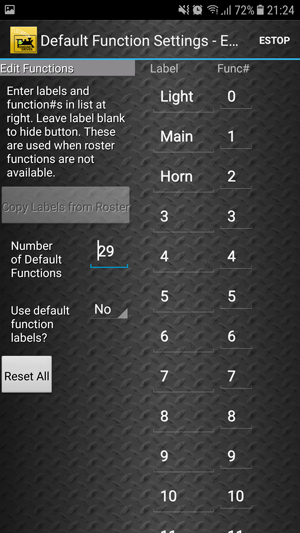
For this example, I have changed the name of the Horn to a Whistle. To get here, open the "Settings" menu (three squares) and select "Functions Defaults".
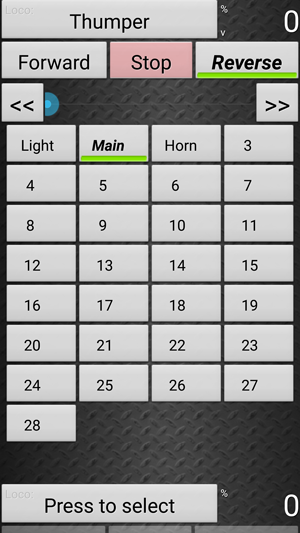
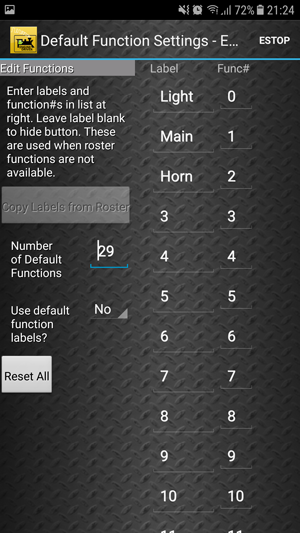
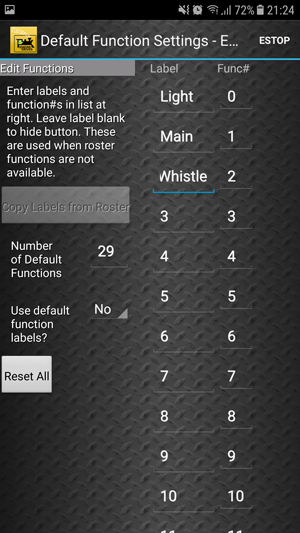
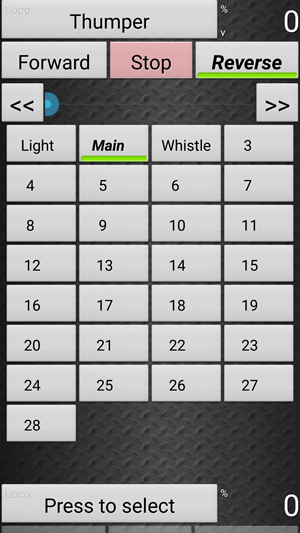
Once you are in the screen, all you need to do is select the function you wish to rename, type in your new name, and then click "Back" on your device. You may need to refresh your screen to show the changes.
There are lots of other settings that can be changed and adjusted, but as there are too many to go through individually, the best thing to do is have a go yourself!