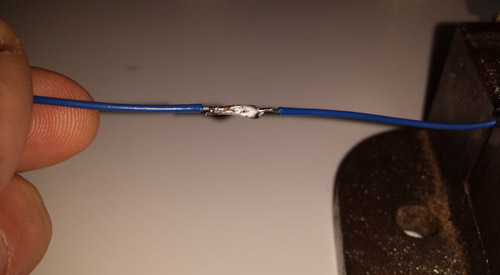

Have you ever been stuck on how to solder, but would like to give it a go? Well I’m here to give you a brief guide on basic soldering.


Soldering is a process in which two metal items are joined together by melting or flowing filler metal (solder) into the joint. As the solder has got a lower melting point than the wire or metal being used, the solder will melt into a liquid and set in the gaps producing a conductive joint. When solder dries shiny it’s a good conductive joint but if the solder is a dull grey colour then it’s a bad conductive joint. Always solder over a protected surface, not the kitchen table just before Christmas dinner!
Flux is a liquid used to help the solder flow better. It is usually acid-based which roughens up the surfaces of the metal to increase adhesion. If you're using a pre-fluxed solder, then you needn't worry about using a separate flux.
I sometimes get asked about which wattage of soldering iron to use on certain materials. If the job is standard wiring or detailing parts then a simple 25W or even 15W soldering iron will be fine.

I am now going to take you through step by step guide to basic wire soldering.
A fundamental aspect of soldering is cleaning between soldering different joints, as failing to do this results in bad joints and allows the solder to corrode the iron tip. You should clean the tip on a wet sponge (a sponge is usually provided in the soldering iron set).